Best RAM Upgrades for Windows Mini PCs to Buy in July 2026
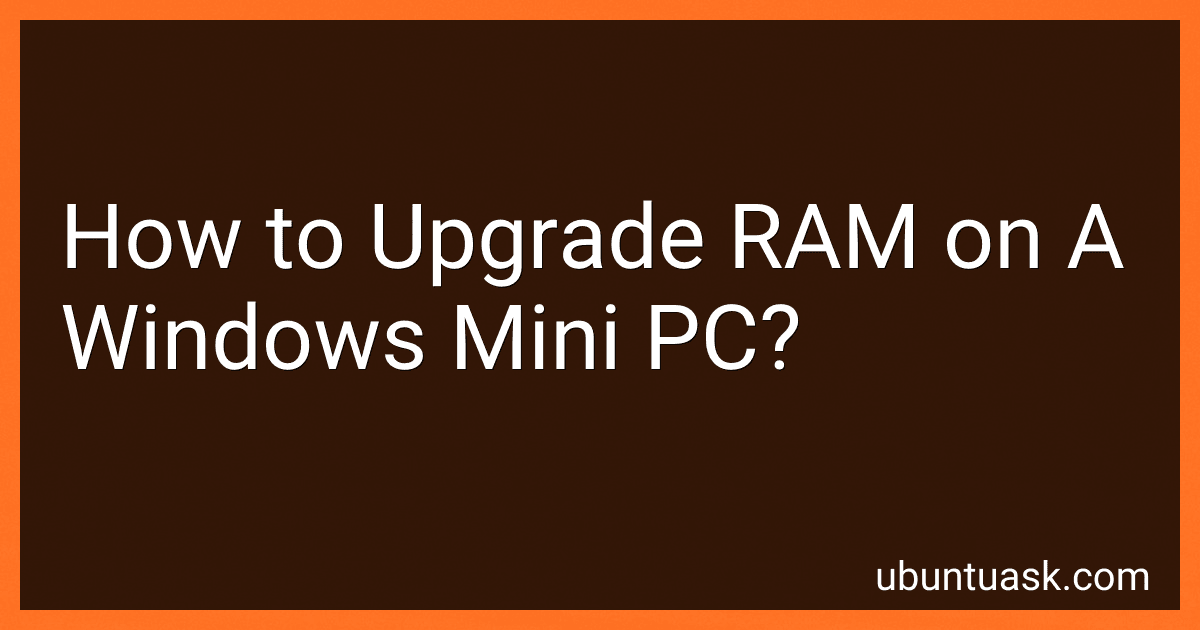
ACEMAGIC Mini PC Windows 11 Pro, AMD Ryzen 4300U(Beat 3500U/N150/N95, up to 3.7GHz), 16GB DDR4 RAM 512 SSD Mini Computers, 28W MAX Desktop 4K Triple Display/HDMI/WiFi/BT/LAN for Home Office Business
-
POWERFUL AMD RYZEN 4300U: OUTPERFORMS PREDECESSORS BY OVER 28% PERFORMANCE.
-
VERSATILE CONNECTIVITY: FEATURES USB3.2, HDMI, AND GIGABIT ETHERNET OPTIONS.
-
LARGE STORAGE & EXPANSION: 512GB SSD AND OPTIONS TO UPGRADE TO 2TB.


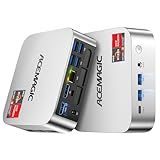
ACEMAGIC K1 Mini PC Windows 11 Pro, Intel Core 12600H (Beat 12450H up to 4.5 GHz) Mini Computers, 16GB DDR4 RAM 512GB SSD Triple 4K Display Desktop Micro Small Pc with BT5.2/WiFi6/HDMI/USB3.2
-
UNMATCHED SPEED: EXPERIENCE SEAMLESS MULTITASKING WITH THE I5-12600H!
-
EXPANDABLE STORAGE: UPGRADE TO 4TB FOR ALL YOUR WORK & ENTERTAINMENT NEEDS.
-
QUIET & EFFICIENT: ENJOY SILENT OPERATION WHILE SAVING ON ENERGY COSTS!
BOSGAME P4 Light Gaming Mini PC, Ryzen 7 5825U, 32GB RAM 1TB SSD, 11 Pro Triple 4K 60HZ Displays Desktop Computers, Support PS3 Emulator Micro PC, HDMI+DP+Type-C, WiFi 6E, BT5.2, Dual 2.5GbE LAN
- POWERFUL RYZEN 7 PROCESSOR FOR SEAMLESS GAMING & DESIGN
- FAST 32GB RAM & 1TB SSD FOR OPTIMAL PERFORMANCE & STORAGE
- TRIPLE 4K DISPLAY SUPPORT FOR ENHANCED MULTITASKING & EFFICIENCY
Lenovo Business Mini Desktop PC, AMD Processor, 16GB RAM, 256GB SSD, Dual Display Support, Wi-Fi, Bluetooth, USB & Ethernet Port, Windows 11 Pro, Compact, Quiet, and Space-Saving, w/Keyboard & Mouse
-
COMPACT DESIGN: FITS ANYWHERE, SAVING SPACE WITHOUT SACRIFICING POWER.
-
HIGH PERFORMANCE: RUNS MULTIPLE APPS SMOOTHLY WITH UP TO 16GB RAM.
-
ENHANCED SECURITY: PROTECTS DATA WITH TPM ENCRYPTION FOR PEACE OF MIND.
![GEEKOM Mini PC[Business Cost-Saving Star] IT12(3-Year Coverage) with 12th Gen Intel i5-12450H Mini Computers,16 RAM/512GB SSD(Not LPDDR) Windows 11 Pro Desktop PC (Low-Power),Dual USB 4/8K(UHS-II)](https://cdn.blogweb.me/1/41f_Bv_V_Wjy_NL_SL_160_565de61570.jpg)
GEEKOM Mini PC[Business Cost-Saving Star] IT12(3-Year Coverage) with 12th Gen Intel i5-12450H Mini Computers,16 RAM/512GB SSD(Not LPDDR) Windows 11 Pro Desktop PC (Low-Power),Dual USB 4/8K(UHS-II)
- UNMATCHED SUPPORT: 3-YEAR WARRANTY & US-BASED CUSTOMER SERVICE.
- POWERFUL PERFORMANCE: SMOOTH 4K STREAMING WITH INTEL I5 PROCESSOR.
- ENERGY EFFICIENT: 50% LESS POWER USE, PAYBACK IN ~1 YEAR.
HP Pro Mini 400 G9 Business Mini Desktop Computer, 12th Gen Intel Hexa-Core i5-12500T (Beat i7-11700T), 16GB DDR4 RAM, 512GB SSD, WiFi 6, Bluetooth 5.2, Windows 11 Pro, AZ-XUT, Black
-
POWERFUL 12TH GEN INTEL I5 FOR SEAMLESS MULTITASKING AND SPEED.
-
BLAZING-FAST 512GB NVME SSD FOR QUICK FILE ACCESS AND STORAGE.
-
WI-FI 6 & BLUETOOTH 5.2 ENSURE TOP CONNECTIVITY & PERIPHERAL SUPPORT.
ACEMAGIC Mini PC Gaming AMD Ryzen 7 7730U (Upgraded 7430U/ 5825U) Windows 11 Pro 32GB RAM 1TB SSD Triple 4K@60Hz Display WiFi6 BT5.2 Type-C HDMI DP1.4b Mini Computers Desktop for Light Gaming/Office
-
POWERFUL PERFORMANCE: RYZEN 7 7730U BOOSTS TASKS & GAMING BY UP TO 38%.
-
TRIPLE 4K DISPLAYS: SEAMLESSLY CONNECT THREE 4K MONITORS FOR MULTITASKING.
-
EXPANDED MEMORY: UPGRADE TO 64GB RAM & 2TB SSD FOR ULTIMATE PERFORMANCE.
Upgrading RAM on a Windows Mini PC is a relatively simple process but it does require some care and caution. The first step is to determine the maximum amount of RAM supported by your Mini PC and the type of RAM it requires. You can usually find this information in the user manual or by searching online.
Once you have purchased the correct type and amount of RAM, make sure to shut down the Mini PC and unplug it from power before opening the case. Carefully remove the screws or clips holding the case in place and take off the cover.
Locate the existing RAM modules and carefully release the clips on the sides to remove them. It is important to handle the RAM modules by the edges to avoid damaging the delicate components.
Next, insert the new RAM modules into the empty slots, ensuring that they are properly aligned and the clips snap back into place. Once the RAM is securely installed, put the cover back on and tighten the screws or clips.
Finally, plug the Mini PC back into power and turn it on to make sure the new RAM is recognized. You may need to go into the BIOS settings to adjust the RAM configuration if necessary.
Overall, upgrading RAM on a Windows Mini PC is a fairly straightforward process as long as you follow the proper steps and handle the components with care.
How to optimize the settings after upgrading RAM on a Windows Mini PC?
- Check BIOS settings: After upgrading the RAM on your Windows Mini PC, it's important to check the BIOS settings to ensure that the new RAM is properly recognized and configured. Make sure that the RAM is running at the correct speed, voltage, and timings.
- Update drivers: It's a good idea to update the drivers for your Mini PC after upgrading the RAM. This can help ensure that your system is running smoothly and efficiently with the new hardware.
- Adjust virtual memory settings: With more RAM installed, you may want to adjust the virtual memory settings in Windows to take advantage of the additional memory. You can do this by going to Control Panel > System > Advanced System Settings > Performance Settings > Advanced > Virtual Memory.
- Disable unnecessary startup programs: With more RAM, your Mini PC may be able to handle more background processes and programs running at startup. However, to optimize performance, it's a good idea to disable any unnecessary programs from starting up with Windows.
- Optimize power settings: If your Mini PC is running on battery power, you may want to adjust the power settings to optimize performance. You can do this by going to Control Panel > Power Options and selecting a power plan that is best suited for your needs.
- Defragment the hard drive: After upgrading the RAM, it's a good idea to defragment the hard drive to improve overall system performance. You can do this by going to Computer > right-click on the hard drive > Properties > Tools > Defragment now.
- Monitor performance: Finally, it's a good idea to monitor the performance of your Mini PC after upgrading the RAM to ensure that it is running optimally. You can use tools like Task Manager or third-party software to monitor CPU, memory, and disk usage.
What is the warranty coverage for RAM upgrades on a Windows Mini PC?
The warranty coverage for RAM upgrades on a Windows Mini PC can vary depending on the manufacturer and specific model. In general, most manufacturers provide a limited warranty on their Mini PCs, which typically covers hardware defects and malfunctions for a specific period of time (usually between 1-3 years).
If you are considering upgrading the RAM on your Mini PC, it's important to check the manufacturer's warranty terms and conditions to see if making modifications to the hardware will void the warranty. In some cases, opening the Mini PC to upgrade the RAM may void the warranty, while in other cases the warranty may still be valid as long as the upgrade does not cause any damage to the system.
It's always a good idea to contact the manufacturer directly or consult the product documentation for specific information on warranty coverage for RAM upgrades on a Windows Mini PC.
How to remove the existing RAM from a Windows Mini PC?
To remove the existing RAM from a Windows Mini PC, follow these steps:
- Shut down the Mini PC completely and unplug all cables and peripherals attached to it.
- Lay the Mini PC on a flat and stable surface with the bottom side facing up.
- Look for the RAM compartment cover on the bottom of the Mini PC. It is usually secured with screws.
- Use a screwdriver to remove the screws that hold the RAM compartment cover in place.
- Gently lift the RAM compartment cover to expose the RAM modules inside. The RAM modules are usually held in place with clips on both sides.
- Carefully press down on the clips on both sides of the RAM module to release it from the slot.
- Once the clips are released, carefully pull the RAM module out of the slot.
- Repeat the process if there are multiple RAM modules installed in the Mini PC.
- If you need to install new RAM, make sure to align the notches on the new RAM module with the slot on the Mini PC and press it down until the clips lock it in place.
- Replace the RAM compartment cover and secure it with screws.
- Plug in all cables and peripherals, and then power on the Mini PC to confirm that the new RAM is recognized and working properly.