Best All-In-One Printers for Photos to Buy in July 2026
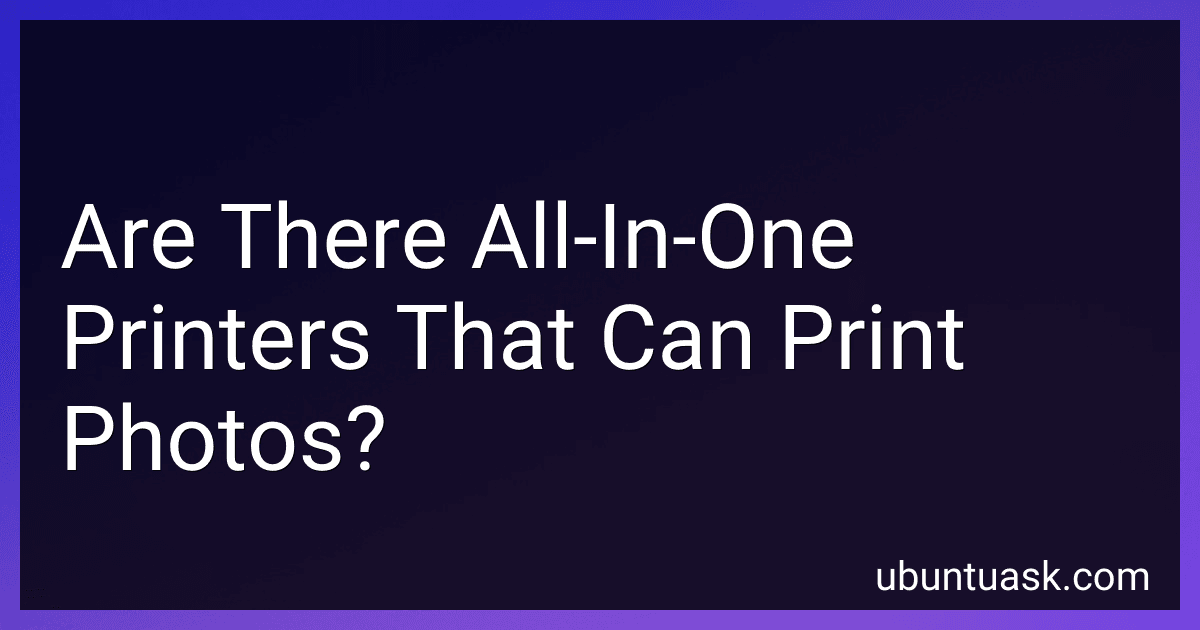
Liene M100 4x6'' Photo Printer Bundle (180 pcs +5 Ink Cartridges), Wi-Fi Picture Printer for iPhone, Android, Smartphone, Computer, Dye-Sublimation, Portable for Home Use
- VIBRANT, DURABLE PHOTOS WITH THERMAL DYE SUBLIMATION TECHNOLOGY!
- HASSLE-FREE PRINTING WITH BUILT-IN WIFI AND NO PAPER JAMS!
- COMPLETE BUNDLE: 180 PHOTO SHEETS AND 5 INK CARTRIDGES INCLUDED!


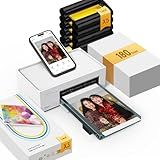
Kodak Mini 2 Retro 4PASS Portable Photo Printer, 2.1x3.4 inches, 38 Sheets Bundle, White
-
PRINT ANYTIME, ANYWHERE: BLUETOOTH CONNECTION FOR INSTANT PHOTO PRINTING.
-
ULTRA-PORTABLE DESIGN: LIGHTWEIGHT AND COMPACT FOR ON-THE-GO USE.
-
HIGH-QUALITY PRINTS: 4PASS TECHNOLOGY FOR VIBRANT, LASTING PHOTOS.
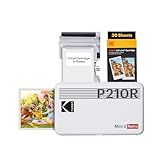
KODAK Dock Plus 4PASS Instant Photo Printer, 4x6 inches, 50 Sheets Bundle
- INSTANT PRINTS AT HOME: DOCK, CHARGE, AND PRINT FAVORITE PHOTOS EASILY!
- VERSATILE COMPATIBILITY: CONNECTS WIRELESSLY WITH APPLE AND ANDROID DEVICES.
- AFFORDABLE BUNDLES: SAVE ON QUALITY PRINTS WITH KODAK'S VALUE PACK OPTIONS!
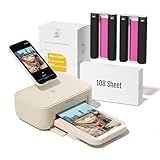
HPRT 4x6 Photo Printer with 108 Sheet Photo Paper& 2 Ribbon, Desktop Instant Picture Printer for iPhone, Smartphone, Thermal Dye Sublimation, WI-Fi Connnecting, Home Use, Beige
- FAST, PORTABILITY: ENJOY HIGH-EFFICIENCY PHOTO PRINTING ANYWHERE WITH EASE.
- VIVID PRINTS: CAPTURE EVERY DETAIL WITH STUNNING CLARITY AND PROTECTION.
- USER-FRIENDLY: LIGHTWEIGHT, PLUG-AND-PLAY DESIGN FOR EFFORTLESS HOME PRINTING.
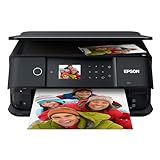
Epson Expression Premium XP-6100 Wireless Color Photo Printer with Scanner and Copier, Black, Medium
- STUNNING 5-COLOR PRINTS: ACHIEVE VIVID PHOTOS AND SHARP TEXT EASILY.
- FAST PHOTO PRINTING: GET 4 X 6 PHOTOS IN AS LITTLE AS 15 SECONDS!
- ULTIMATE WIRELESS CONNECTIVITY: PRINT FROM SMARTPHONES AND TABLETS EFFORTLESSLY!
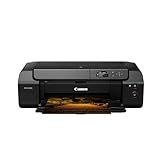
Canon PIXMA PRO-200S Professional 13" Wireless Inkjet Photo Printer with 3.0" Color LCD Monitor, 8-Color Dye-Based Ink, Black
- VIBRANT 8-COLOR INK FOR STUNNING, HIGH-QUALITY PRINTS.
- COMPACT DESIGN SAVES PRECIOUS SPACE IN YOUR HOME OR STUDIO.
- FAST PRINTING: A3+ PRINTS IN 90 SECONDS, 8X10 IN JUST 53 SECONDS!
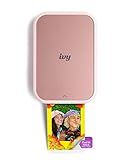
Canon Ivy 2 Mini Photo Printer, Print from Compatible iOS & Android Devices, Sticky-Back Prints, Blush Pink
-
PRINT & CUSTOMIZE PHOTOS DIRECTLY FROM YOUR SMARTPHONE WITH EASE!
-
NO INK REQUIRED-ZINK TECHNOLOGY ENSURES VIBRANT, HASSLE-FREE PRINTS!
-
STICK PHOTOS ANYWHERE WITH A CONVENIENT PEEL & STICK BACKING!
Yes, there are all-in-one printers that can print photos. These multifunctional devices not only handle standard printing tasks like documents and spreadsheets but also offer the capability to produce high-quality photo prints. They come equipped with features that cater to photo printing, such as advanced color management, borderless printing options, and the use of specialized photo paper. Some models include high-resolution scanning and copying functions as well, making them versatile for both home and small office use. Brands like HP, Canon, Epson, and Brother offer a range of all-in-one printers, some of which are specifically designed to meet the needs of photo enthusiasts, providing vibrant and detailed image outputs.
What is the difference between inkjet and laser all-in-one printers?
Inkjet and laser all-in-one printers are both versatile devices that combine printing, scanning, copying, and sometimes faxing capabilities. However, they differ in several key aspects:
- Print Technology: Inkjet Printers: These printers use liquid ink, which is sprayed onto the paper through microscopic nozzles. They are capable of producing high-quality color prints and are well-suited for printing photos and images with varying shades and tones. Laser Printers: These use a laser beam to transfer toner (a powdered ink) onto paper. The toner is then fused to the paper using heat. Laser printers excel in producing sharp text and are typically faster than inkjet printers for large volumes of text documents.
- Print Quality: Inkjet Printers: Generally have superior color blending and are better for high-resolution photo printing. Laser Printers: Provide better results for text and simple graphics, with sharper and more precise lines.
- Speed: Inkjet Printers: Usually slower, especially when printing complex color documents or photos. Laser Printers: Faster for printing large volumes of text documents, making them suitable for office environments with high print demands.
- Cost: Inkjet Printers: Typically have a lower upfront cost, but ink cartridges can be expensive over time, especially for high-volume printing. Laser Printers: Generally have a higher upfront cost, but toner cartridges last longer, which can result in lower cost per page for large volumes of printing.
- Durability: Inkjet Printers: More prone to issues like clogging if not used regularly; print heads need to be cleaned occasionally. Laser Printers: Generally more durable and require less frequent maintenance, as they don’t have issues like dried-out print heads.
- Size and Energy Use: Inkjet Printers: Tend to be more compact and use less energy, making them suitable for home or small office environments. Laser Printers: Usually larger and consume more energy, especially during the warm-up phase.
- Versatility: Inkjet Printers: Better for a wide range of print media and types, including glossy photo paper, labels, and more. Laser Printers: Primarily used for standard paper and envelopes due to the high heat used in the printing process.
Ultimately, the choice between an inkjet and laser all-in-one printer depends on your specific needs: if you need vibrant color prints and photos, an inkjet might be better; if you require fast, high-volume text printing, a laser printer might be the preferred choice.
How to print borderless photos on an all-in-one printer?
Printing borderless photos on an all-in-one printer can be a great way to create professional-looking prints at home. Here’s a step-by-step guide to help you through the process:
- Check Your Printer Compatibility: Ensure your printer supports borderless printing. Not all printers have this feature. You can check this in the printer’s manual or specifications.
- Prepare the Printer: Load your printer with the appropriate photo paper. Make sure the paper size matches your project (e.g., 4x6, 5x7, 8x10). Adjust the paper tray to accommodate the size of your photo paper.
- Configure Printer Settings: Open the image you want to print on your computer. Access the print menu (usually by selecting “File” and then “Print”). In the print dialogue box, select your printer from the list of available printers.
- Set Borderless Options: Go into the printer properties or preferences. This option is sometimes called "Printer Properties" or "Printer Preferences." Look for the setting for “Borderless Printing.” This might be found under a section for paper size, media type, or similar. Enable it.
- Adjust Quality and Paper Type: Choose the correct paper type (e.g., glossy photo paper) from the media type or quality settings. Consider selecting a higher print quality option for better-looking photos.
- Check and Adjust Photo Size: Ensure the photo is set to fill the page. Depending on your software, this might be called “Fit to Page” or “Full Page Photo.” This will help avoid margins you don’t want.
- Preview and Print: Use the preview option to ensure everything looks correct. Double-check settings before finalizing the print. Click “Print” to begin the process.
- Post-Printing Care: Allow the photo to dry completely before handling, especially if printed on glossy paper. Store photos in a cool, dry place to prevent damage and fading.
If you encounter any issues during the printing process, consult your printer’s user manual for troubleshooting tips or visit the manufacturer’s support website for additional guidance.
How to scan photos using an all-in-one printer?
Scanning photos using an all-in-one printer is a straightforward process. Here are the general steps you can follow, although there might be slight variations depending on the specific model and brand of your printer:
- Prepare Your Printer: Make sure your printer is plugged in and turned on. Ensure that it is connected to your computer via USB cable or Wi-Fi.
- Place the Photo: Open the scanner lid on your all-in-one printer. Place the photo face-down on the scanner glass. Align it with the designated corners or markers to ensure it scans straight. Close the lid gently to avoid moving the photo.
- Select the Scanning Method: On your computer, open the scanning software provided by the printer manufacturer. This software might have been installed when you set up your printer. If you don't have the software installed, it might be available for download from the manufacturer's website. You can also use built-in scanning tools like Windows Fax and Scan or macOS Image Capture if you prefer.
- Choose Scan Settings: Select the scan type (e.g., photo, document) in the software. Choose the desired settings such as resolution (300 dpi is typically good for photos), color mode (color, grayscale, or black and white), and file format (JPEG or TIFF for photos). Higher resolution settings will provide better quality but create larger file sizes.
- Preview the Scan: Most scanning software allows you to do a preview scan. This lets you make sure the photo is aligned correctly and adjust the scanning area if necessary. Adjust the scan area on the screen if the automatic selection isn't accurate.
- Scan the Photo: Once you’re satisfied with the preview, initiate the final scan. Follow any on-screen prompts to complete the process.
- Save the Scanned Image: After scanning, you’ll usually have the option to save the file. Choose a location on your computer, name your file, and select the desired file format. Make sure to save it to a folder where you can easily find it later.
- Review the Scanned File: Open the scanned photo in an image viewer or editor to check the quality. Make any necessary adjustments or edits if needed.
By following these steps, you should be able to scan your photos efficiently using an all-in-one printer. If you encounter issues, refer to your printer’s user manual, or seek support from the manufacturer’s website for model-specific guidance.