Best Keyboard Vacuums to Buy in July 2026
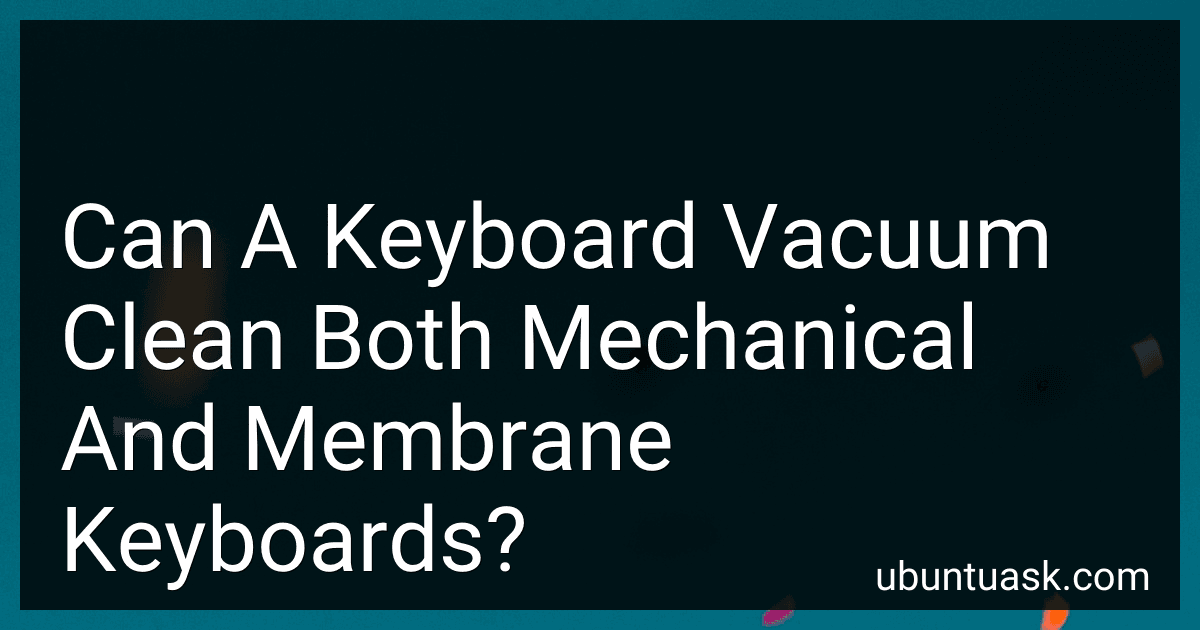
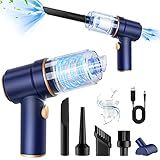
Hayousui 4.3Kpa Keyboard Vacuum Cleaner Mini:Handheld Computer Vacuum Cordless for Car Laptop Sewing Machine Portable Keyboard Vac USB Desk Crumbs Dust Cleaners
- POWERFUL 4.3KPA SUCTION FOR QUICK, EFFICIENT CLEANING ANYWHERE!
- VERSATILE 2-IN-1 NOZZLE CLEANS TIGHT CREVICES AND FLAT SURFACES!
- REUSABLE HEPA FILTER CAPTURES 99.6% OF DUST FOR FRESHER AIR!


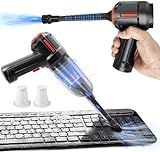
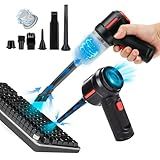
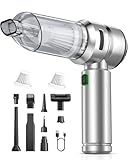
Car Vacuum Portable Cordless Handheld Vacuum Cleaner 4-in-1 Mini Cordless Vacuum with 2 Suction Modes and 16800pa Suction Power Blowing & Inflating 2 Modes Handheld Vacuum for Car, Desk, Keyboards
- 4-IN-1 VERSATILITY: VACUUM, BLOW, INFLATE, AND SUCTION ALL IN ONE TOOL.
- POWERFUL SUCTION: MAX 80,000 RPM MOTOR FOR EFFICIENT CLEANING POWER.
- ULTRA-LIGHT & PORTABLE: WEIGHS JUST 1 LB, PERFECT FOR ON-THE-GO CLEANING.
A9life Handheld Vacuum Cordless, Car Vacuum Cleaner Portable with HEPA Filter, 2 Suction Modes, Mini Hand Held Vacuum Rechargeable for Car, Home, Pet Hair, Office, Desk, Keyboards (Black)
-
ULTRA-LIGHTWEIGHT DESIGN: ONLY 0.72 LBS FOR EFFORTLESS ONE-HANDED USE!
-
POWERFUL SUCTION: TACKLE ALL MESSES WITH TWO ADJUSTABLE MODES!
-
FAST USB-C CHARGE: READY TO CLEAN IN JUST 2.5 HOURS, UP TO 30 MIN RUN!
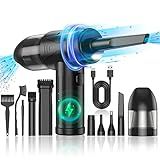
KMM Handheld Car Vacuum Cleaner, 9000Pa Vacuum Cleaner and Air Duster, 120W High Power Hand Held Vacuum with LED Light and Multi-Nozzles for Car, Home, Office, Pet
- RECHARGEABLE 4000MAH BATTERY: CHARGES IN JUST 3 HOURS FOR CONVENIENCE!
- 2-IN-1 FUNCTION: EFFORTLESSLY SWITCH BETWEEN VACUUMING AND BLOWING DUST.
- COMPACT DESIGN WITH LED LIGHT: EASY TO CARRY, CLEAN ANYWHERE, ANYTIME!
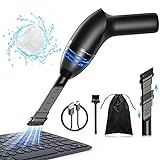
PeroBuno Computer Vacuum Cleaner - Air Duster - for Keyboard Cleaning - Cordless Canned Air - Powerful - Energy - Efficient - Compressed
- CORDLESS CONVENIENCE: PORTABLE, HASSLE-FREE CLEANING WITHOUT CORDS.
- ECO-FRIENDLY: REUSABLE DUSTER SAVES MONEY AND REDUCES WASTE!
- VERSATILE CLEANING: 3-IN-1 DESIGN FOR DUSTING, VACUUMING, AND SEALING.
Meudeen Air Duster - Computer Vacuum Cleaner - for Keyboard Cleaning- Cordless Canned Air- Powerful - Energy-Efficient(Air-01)
- VERSATILE 3-IN-1 FUNCTIONALITY: VACUUM, BLOW, AND PACK WITH EASE!
- MULTIPLE ATTACHMENTS: PERFECT FOR KEYBOARDS, CARS, AND HARD-TO-REACH SPOTS.
- POWERFUL & COMPACT: STRONG 120W SUCTION IN A LIGHTWEIGHT, TRAVEL-FRIENDLY SIZE.
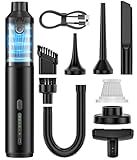
TRANSWARRIOR Electric Air Duster & Vacuum Cleaner 2-in-1, 110000RPM Keyboard Cleaner for PC, No Canned Air - Compressed Air Duster, Blower, Turbo Fan, Battery Powered, Refillable, PC Cleaning Kit
- ECO-FRIENDLY, RECHARGEABLE DUSTER SAVES MONEY & REDUCES WASTE!
- POWERFUL AIRFLOW CLEANS DUST FROM ELECTRONICS, CARS, & MORE!
- VERSATILE NOZZLES REACH TIGHT SPOTS, MAKING CLEANING EFFORTLESS!
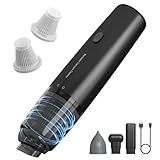
VNOST Car Vacuum,3 Suction Modes,Portable Mini Cordless Cleaner with 24000pa Suction Power,Type-C Charge,Handheld Vacuum for Home,Car, Office Desk, Keyboards(Dark Silver)
-
24000PA SUCTION POWER: EFFORTLESSLY TACKLES ALL DUST AND DEBRIS!
-
VERSATILE 4-IN-1 DESIGN: VACUUM, BLOW, INFLATE, AND EXTRACT WITH EASE!
-
QUICK CHARGING CONVENIENCE: 30 MINS USAGE WITH FAST CHARGING OPTIONS!
A keyboard vacuum can generally be used to clean both mechanical and membrane keyboards. These vacuums are designed to suck up dust, crumbs, and particles from between the keys and can be beneficial for maintaining cleanliness regardless of the keyboard type. Mechanical keyboards, with their individual switches for each key, tend to have more space where debris can accumulate, making them often easier to clean with a vacuum. Membrane keyboards, on the other hand, have a flat, continuous surface underneath the keys, which can trap dust and debris in different ways. However, caution is advised with any vacuum use to ensure that no small key components are accidentally removed or damaged, especially in the case of mechanical keyboards with removable keycaps. It's also important to ensure that the vacuum's suction isn't too strong to avoid any potential damage to the keyboard.
What is the lifespan of a membrane keyboard?
The lifespan of a membrane keyboard typically ranges from 5 to 10 million keystrokes per key, which translates to approximately 1 to 3 years of regular use, depending on how frequently you use it. This can vary based on factors such as build quality, usage patterns, and maintenance. In general, membrane keyboards tend to have a shorter lifespan compared to mechanical keyboards, which have individual switches and can last for 50 million keystrokes or more per key.
What is the best way to remove dust from keyboards?
Removing dust from a keyboard can be done effectively using several methods. Here are some of the best ways to clean a keyboard:
- Compressed Air: This is a popular and effective method. Hold the can of compressed air upright and use short bursts to blow dust and debris out from between the keys. It's a quick way to remove loose particles.
- Vacuum Cleaner: Use a vacuum cleaner with a small nozzle attachment designed for electronics. This can help suck out dust and debris. Make sure the vacuum is on a low setting to avoid any damage.
- Brush: A small, soft-bristled brush can be used to gently sweep away dust from the surface and between the keys. An old toothbrush or a specialized electronics cleaning brush works well for this.
- Gel Cleaner: Sticky cleaning gels can be pressed onto the keyboard. The gel adheres to dust and dirt particles, lifting them away when the gel is removed.
- Microfiber Cloth: For surface dust, a microfiber cloth can help wipe away grime without scratching. Lightly dampen the cloth with water or isopropyl alcohol for more effective cleaning.
- Keycap Removal: For deeper cleaning, especially if keys are sticky or heavily soiled, consider removing the keycaps. Use a keycap puller to safely remove them, then clean individually with soap and water, or a damp cloth. Allow them to dry completely before reassembling.
Always make sure your keyboard is disconnected from any power source before cleaning, and avoid using excessive moisture during the process to prevent any potential damage.
How to troubleshoot sticky keys on a membrane keyboard?
Troubleshooting sticky keys on a membrane keyboard can involve several steps, depending on the cause of the issue. Here are some methods you can try:
- Power Off and Unplug: Turn off your computer and unplug the keyboard if it’s an external one. If it’s a laptop keyboard, ensure the device is completely turned off.
- Basic Cleaning: Turn the keyboard upside down and gently shake it to dislodge any loose debris. Use compressed air to blow out dust and debris from between the keys. Make sure to use short bursts of air to avoid damaging the keys.
- Inspect the Keys: Look for any visible debris or spills that could be causing keys to stick. If a specific key is sticking, try pressing it repeatedly to see if that dislodges any debris.
- Deep Cleaning: If basic cleaning doesn’t help, you may need to remove the keycaps for a deeper clean. Not all membrane keyboards have removable keycaps, so be cautious. Use a plastic or keycap puller tool to gently remove keycaps, if possible. Clean under the keycaps using a damp cloth or cotton swab with isopropyl alcohol. Be sure not to soak the cloth to prevent moisture from entering the keyboard.
- Check for Spills: If a liquid spill is causing the keys to be sticky, you might need a more thorough cleaning. Remove any sticky residue with a cotton swab or cloth lightly dampened with isopropyl alcohol.
- Allow to Dry: After cleaning, allow the keyboard to dry completely before reassembling and reconnecting it. This may take several hours, depending on the extent of cleaning done.
- Reassemble the Keyboard: Carefully replace the keycaps, ensuring they are correctly aligned. Press down until they click back into place.
- Test the Keyboard: Once everything is reassembled, reconnect the keyboard, power on your computer, and test to see if the issue is resolved.
- Check for Software Issues: Sometimes sticky keys might be caused by software settings. Ensure that the sticky keys feature (often found in accessibility settings) is turned off.
- Professional Repair or Replacement: If the problem persists after thorough cleaning, there might be internal damage. Consider taking the keyboard to a professional for repair, or if it’s not cost-effective to repair, replace the keyboard.
Always take care when cleaning electronics and avoid using too much liquid. Consider reading your keyboard’s manual for any specific cleaning recommendations from the manufacturer.
What is the best vacuum attachment for keyboards?
When it comes to cleaning keyboards, you'll want a vacuum attachment that is designed for delicate electronics and can fit into tight spaces. The best options often include:
- Brush Attachment: A small, soft-bristled brush attachment can help loosen dust and debris without scratching the keyboard.
- Crevice Tool: A narrow crevice tool is excellent for reaching between the keys where dust and crumbs can accumulate.
- Miniature Vacuum Cleaner Kits: There are specialized mini vacuum kits available that come with various micro attachments specifically designed for electronic devices, including keyboards.
- Keyboard Vacuum Cleaners: There are standalone miniature vacuum devices specifically made for keyboards. These are typically USB-powered and come with small nozzles and brushes.
- Compressed Air Attachments: While not exactly a vacuum, a compressed air attachment or canister can be effective in blasting away dust from between the keys.
Make sure whatever attachment you use is gentle enough to avoid damage and always check the compatibility with your vacuum model.
What is the role of compressed air in keyboard cleaning?
Compressed air plays a critical role in cleaning keyboards by effectively removing dust, crumbs, and other debris that accumulate between and beneath the keys. When you use compressed air to clean a keyboard, you direct a focused stream of air that dislodges these particles, which are often difficult to reach with a cloth or brush. Here are some key points about its role:
- Accessibility: Compressed air can reach tight spaces that are otherwise inaccessible, ensuring a more thorough cleaning than manual methods alone.
- Non-contact Cleaning: It provides a way to clean the keyboard without physically touching or potentially damaging delicate components.
- Efficiency: Using compressed air is a quick and efficient way to clean keyboards, often taking just a few minutes to remove a significant amount of debris.
- Prevention of Damage: Regular use of compressed air can prevent debris from building up under keys, which can lead to jamming or other functional issues.
- Extended Device Lifespan: Keeping a keyboard clean can contribute to its longevity and maintain its performance over time.
To use compressed air effectively, it's important to follow a few guidelines, such as holding the can upright to avoid moisture expulsion, using short bursts of air, and maintaining a bit of distance from the keys to prevent damage.
What is the advantage of using a keyboard vacuum?
Using a keyboard vacuum offers several advantages:
- Effective Cleaning: Keyboard vacuums are specifically designed to remove dust, crumbs, and other debris that accumulate between and under the keys. They can reach areas that a regular cloth or brush might miss.
- Easy to Use: These vacuums are typically small and lightweight, making them easy to handle and maneuver around the keyboard.
- Time-Saving: Quickly sucking up debris with a vacuum is often faster than manually cleaning each key with a cloth or brush.
- Prevents Damage: Regular cleaning with a keyboard vacuum can help prevent dust and debris from causing issues with key function, which can occur if particles interfere with the key mechanics.
- Non-Abrasive: Unlike brushes, which can be abrasive, vacuums gently remove dust without the risk of scratching or damaging the keys.
- Versatile Use: While they are designed for keyboards, many keyboard vacuums can also be used on other electronics, such as laptops, vents, and other small, delicate spaces that require gentle cleaning.
- Hygiene: Regular use of a keyboard vacuum can reduce the buildup of bacteria and allergens, contributing to a healthier workplace or home environment.
Overall, a keyboard vacuum is a practical tool for maintaining a clean and functional keyboard and enhancing the longevity of your device.