Best Mini PC Monitor Connections to Buy in July 2026
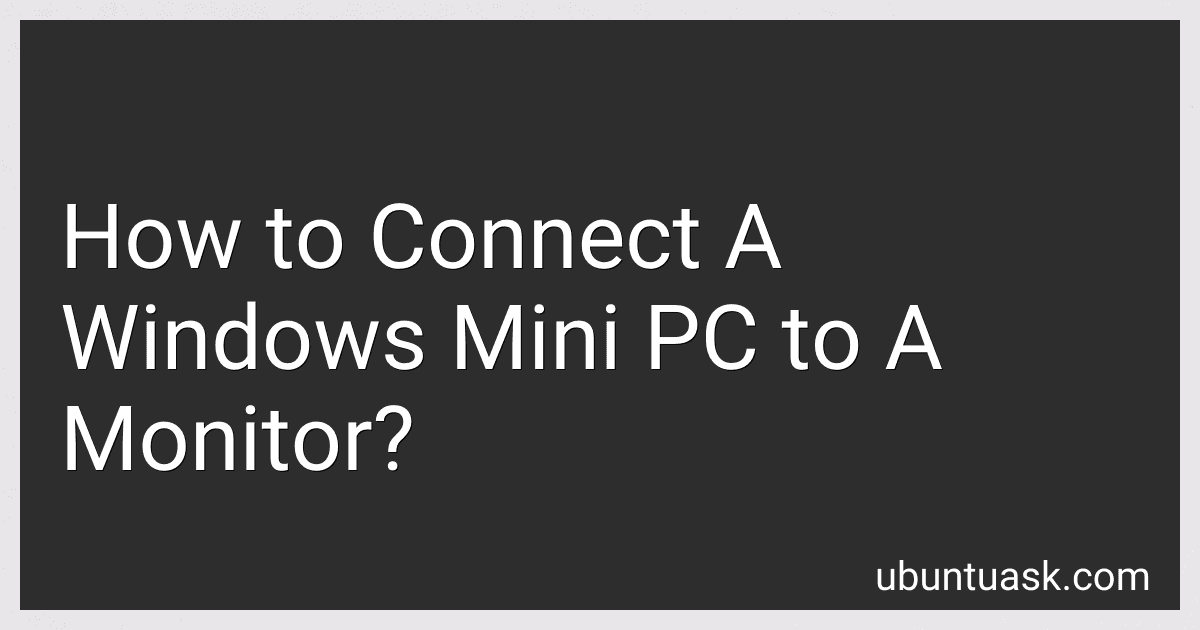
BENFEI Mini DisplayPort to VGA Adapter, Mini DP Display Port to VGA (Thunderbolt Compatible) Male to Female Adapter for ThinkPad SurfacePro PC
-
CONNECT YOUR MAC EFFORTLESSLY: COMPATIBLE WITH ALL MAJOR APPLE DEVICES.
-
ENJOY STUNNING VISUALS: 1080P FULL HD FOR HOME, OFFICE, OR CLASSROOM.
-
BUILT TO LAST: GOLD-PLATED CONNECTORS ENSURE DURABILITY AND SIGNAL STRENGTH.


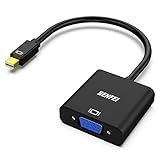
BENFEI Mini DisplayPort to VGA 2 Pack, Mini DP Display Port to VGA (Thunderbolt Compatible) Male to Female Adapter Compatible for ThinkPad SurfacePro PC
- COMPACT DESIGN: LIGHTWEIGHT AND PORTABLE FOR EASY BUSINESS PRESENTATIONS.
- SUPERIOR STABILITY: ADVANCED IC CHIP ENSURES RELIABLE SIGNAL CONVERSION.
- UNIVERSAL COMPATIBILITY: WORKS WITH A WIDE RANGE OF DEVICES AND BRANDS.
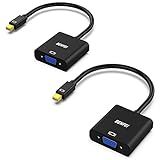
Anbear Mini Displayport to HDMI Adapter Thunderbolt to HDMI Cable, Gold-Plated Display Port to HDMI Adapter Compatible with MacBook Pro, MacBook Air, Mac mini, Microsoft Surface Pro
- LIGHTWEIGHT DESIGN FOR EASY TRANSPORT AND CONVENIENT SETUP ANYWHERE.
- SUPPORTS FULL HD RESOLUTIONS FOR STUNNING VISUALS AND SMOOTH AUDIO.
- GOLD-PLATED CONNECTORS ENSURE DURABILITY AND SUPERIOR SIGNAL QUALITY.
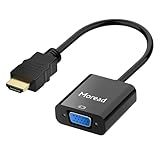
Moread HDMI to VGA, Uni-Directional Gold-Plated HDMI to VGA Adapter (Male to Female) for Computer, Desktop, Laptop, PC, Monitor, Projector, HDTV, Chromebook, Raspberry Pi, Xbox and More - Black
- COMPACT DESIGN: PORTABLE ADAPTER FOR EASY PRESENTATIONS ANYWHERE.
- SUPERIOR STABILITY: ADVANCED IC CHIP FOR RELIABLE SIGNAL CONVERSION.
- BROAD COMPATIBILITY: WORKS WITH MOST HDMI DEVICES; EXCLUDES SELECT MODELS.
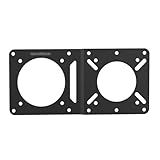
Monzlteck VESA Mount Adapter Plate for Mac mini M4 & NUC – Universal Extension Bracket for Mini PCs, Fits 75x75mm & 100x100mm VESA Monitor Arms, Securely Mount Small Computers Behind Display
- UNIVERSAL COMPATIBILITY: FITS MAC MINI M4, INTEL NUC, & MORE.
- MULTI-MONITOR READY: MOUNTS MINI PCS EVEN WITH MONITOR ARMS IN USE.
- STRONG & DURABLE: STURDY STEEL CONSTRUCTION FOR LONG-LASTING SUPPORT.
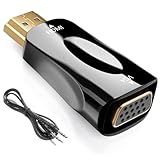
HDMI to VGA Adapter Converter mini, 1080P Male to Female Cord for Computer, Desktop, Laptop, PC, Monitor, Projector, HDTV, Chromebook, Raspberry Pi, Roku, Xbox and More(Black)
-
FULL HD SUPPORT: ENJOY STUNNING 1080P RESOLUTION FOR CLEAR VISUALS.
-
SEAMLESS SETUP: PLUG AND PLAY DESIGN FOR INSTANT CONNECTIVITY-NO DRIVERS NEEDED!
-
WIDE DEVICE COMPATIBILITY: WORKS WITH MOST HDMI DEVICES FOR VERSATILE USE.
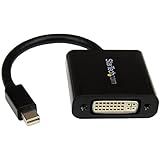
StarTech.com Mini DisplayPort to DVI Adapter - Mini DP to DVI-D Converter - 1080p Video - mDP or Thunderbolt 1/2 Mac/PC to DVI Monitor - Compact mDP 1.2 to DVI Single-Link Adapter Dongle (MDP2DVI3)
- CONNECT DVI DISPLAYS EASILY FOR 1080P HD VISUALS, PLUG-AND-PLAY.
- BROAD COMPATIBILITY: WORKS WITH MACS, SURFACE PRO, AND MORE DEVICES!
- COMPACT DESIGN WITH SCREW LOCK PREVENTS DISCONNECTIONS DURING USE.
To connect a Windows Mini PC to a monitor, you will need an HDMI cable or a VGA cable, depending on the ports available on both the Mini PC and the monitor. First, locate the HDMI or VGA ports on both devices. Connect one end of the cable to the Mini PC's HDMI or VGA port, and the other end to the corresponding port on the monitor.
Once the physical connection is made, power on both the Mini PC and the monitor. The Mini PC should automatically detect the monitor and display the desktop screen. If not, you may need to adjust the display settings in the Windows operating system to extend or duplicate the screen to the monitor. This can usually be done by right-clicking on the desktop, selecting 'Display Settings,' and configuring the monitor options.
After adjusting the display settings, you should see the Windows desktop on the monitor screen. You can now use the monitor as an extended display or a duplicate display for your Windows Mini PC.
How to adjust the screen resolution on a Windows Mini PC connected to a monitor?
To adjust the screen resolution on a Windows Mini PC connected to a monitor, follow these steps:
- Right-click on the desktop and select "Display settings" from the menu that appears.
- In the Display settings window, under the "Scale and layout" section, you will see a dropdown menu for "Display resolution".
- Click on the dropdown menu and select the desired resolution for your monitor. You can choose from the available options listed, or click on "Advanced display settings" for more options.
- Once you have selected the desired resolution, click on "Apply" to save the changes.
- If the screen looks distorted or not fitting properly, you can also adjust the orientation, brightness, contrast, and other display settings from the same Display settings window.
- After making the changes, click on "Keep changes" to apply the new settings.
- Your screen resolution should now be adjusted to the selected settings on your Windows Mini PC connected to a monitor.
What is the difference between HDMI and VGA connections for a monitor?
HDMI (High Definition Multimedia Interface) and VGA (Video Graphics Array) are both common types of connections used to connect monitors to devices such as computers, laptops, and gaming consoles. Here are some key differences between the two:
- Video quality: HDMI supports higher resolution and better video quality compared to VGA. HDMI can transmit both audio and video signals in a single cable, while VGA only transmits video signals.
- Compatibility: HDMI is a more modern and widely used connection, while VGA is considered to be an older technology. Most modern devices, such as laptops, gaming consoles, and monitors, are equipped with HDMI ports, while VGA ports are becoming less common.
- Digital vs. analog: HDMI is a digital connection, which means that it provides a digital signal from the source device to the monitor. VGA, on the other hand, is an analog connection, which can lead to degradation in video quality over longer distances.
- Cable length: HDMI cables can transmit signals over longer distances without experiencing signal loss compared to VGA cables. This makes HDMI a better choice for setups where the monitor is located further away from the source device.
Overall, HDMI is generally considered to be superior to VGA in terms of video quality, ease of use, and compatibility. However, VGA can still be a viable option for older devices that do not have HDMI ports.
How to connect a Windows Mini PC to a monitor with a VGA cable?
To connect a Windows Mini PC to a monitor with a VGA cable, follow these steps:
- Make sure your Windows Mini PC has a VGA port. If it doesn't, you may need to use a VGA adapter or a docking station with a VGA port.
- Turn off both the Windows Mini PC and the monitor.
- Locate the VGA port on the Windows Mini PC and the VGA port on the monitor.
- Insert one end of the VGA cable into the VGA port on the Windows Mini PC.
- Insert the other end of the VGA cable into the VGA port on the monitor.
- Tighten the screws on the VGA cable connectors to secure the connection.
- Turn on the monitor and set it to the correct input/source for the VGA connection.
- Turn on the Windows Mini PC.
- The monitor should now display the Windows Mini PC's desktop. If not, you may need to adjust the display settings on the Windows Mini PC to recognize the monitor.
You have now successfully connected your Windows Mini PC to a monitor using a VGA cable.
What is the purpose of connecting a Windows Mini PC to a monitor?
The purpose of connecting a Windows Mini PC to a monitor is to display the visual output from the mini PC on a larger screen. This allows for a more comfortable and visually pleasing computing experience, as well as enabling users to work on tasks that require a larger screen size, such as viewing and editing documents, watching videos, playing games, and multitasking with multiple windows open at the same time. Connecting a Windows Mini PC to a monitor also allows users to use the mini PC as a media center or a desktop replacement, with access to a bigger screen and potentially higher resolution and better quality display compared to the built-in screen on the mini PC itself.
How to troubleshoot a Windows Mini PC not connecting to a monitor?
- Check the connections: First, ensure that all cables connecting the Mini PC to the monitor, such as the HDMI or DisplayPort cable, are connected properly and securely.
- Test the monitor: If possible, try connecting the monitor to a different device, such as a laptop or gaming console, to see if the monitor is working properly. If the monitor displays an image, then the issue may be with the Mini PC.
- Restart the Mini PC: Sometimes a simple reboot can fix connection issues. Turn off the Mini PC, unplug it from power, wait a few seconds, then plug it back in and turn it on.
- Update graphics drivers: Outdated or corrupted graphics drivers can cause display issues. Check for updates for the graphics drivers on the Mini PC and install any available updates.
- Try a different port: If the Mini PC has multiple video output ports, such as HDMI, DisplayPort, or VGA, try connecting the monitor to a different port to see if the issue is with a specific port.
- Check the display settings: Make sure the Mini PC is set to the correct display resolution and refresh rate for the monitor. This can usually be adjusted in the display settings of the operating system.
- Reset the BIOS/UEFI settings: If none of the above steps work, try resetting the BIOS or UEFI settings on the Mini PC. This can sometimes resolve compatibility issues with the monitor.
- Contact technical support: If you have tried all the steps above and the Mini PC still does not connect to the monitor, it may be a hardware issue. Contact the manufacturer's technical support for further assistance or to arrange for repairs.