Best Keyboard Vacuums to Buy in July 2026
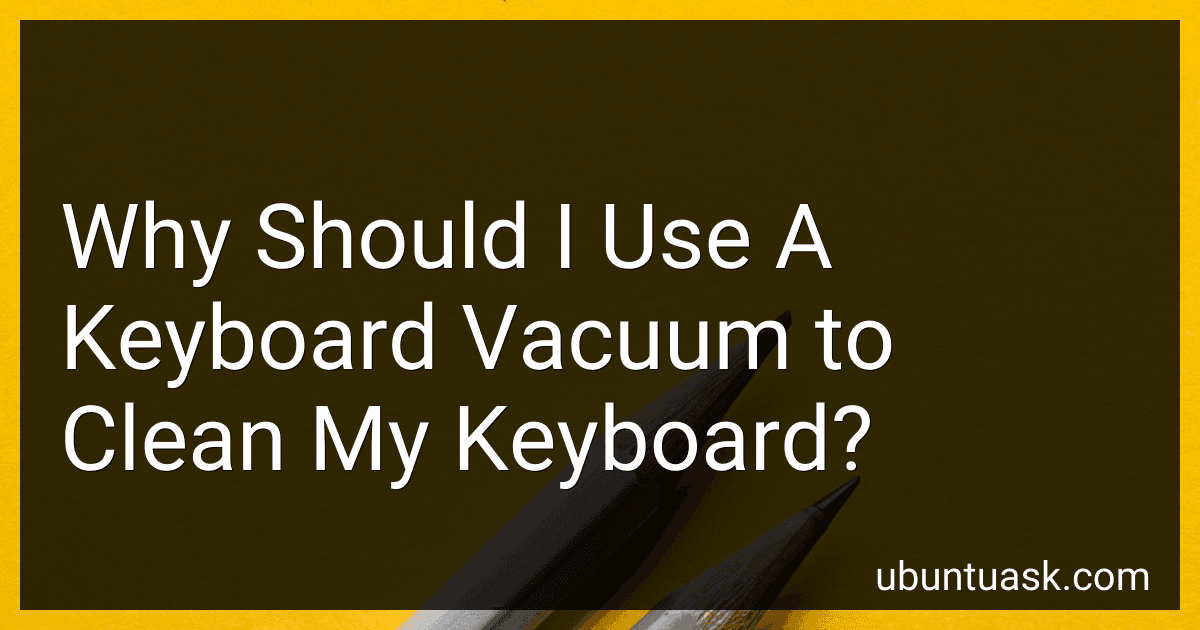
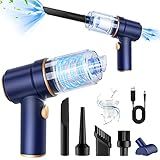
Hayousui 4.3Kpa Keyboard Vacuum Cleaner Mini:Handheld Computer Vacuum Cordless for Car Laptop Sewing Machine Portable Keyboard Vac USB Desk Crumbs Dust Cleaners
-
POWERFUL 4.3KPA SUCTION TACKLES DUST, CRUMBS, & PET HAIR EFFORTLESSLY.
-
VERSATILE 2-IN-1 NOZZLE FOR CREVICES, DESKTOPS, AND ROUGH SURFACES.
-
USB RECHARGEABLE WITH 15-20 MINS RUN TIME FOR ULTIMATE CONVENIENCE.


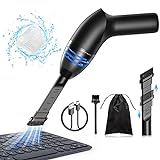
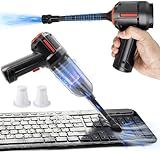
Car Vacuum Portable Cordless Handheld Vacuum Cleaner 4-in-1 Mini Cordless Vacuum with 2 Suction Modes and 16800pa Suction Power Blowing & Inflating 2 Modes Handheld Vacuum for Car, Desk, Keyboards
-
4-IN-1 FUNCTIONS: VACUUM, BLOW, INFLATE, AND SUCTION-VERSATILE CLEANING!
-
STRONG 16.8 KPA SUCTION POWER WITH TWO MODES FOR ANY MESS!
-
ULTRA-LIGHT DESIGN AT 1 LB; EASY TO CARRY FOR ON-THE-GO CLEANING!
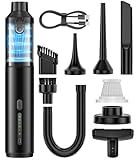
Powerful Compressed Air Duster for Deep Cleaning-Replace Compressed Air Can-No Canned Air Duster-Keyboard Cleaner-PC Cleaning-Rechargeable-3-Speeds-95000RPM Cordless Air Blower-Car Duster 8000mAh
- POWERFUL 3-SPEED AIRFLOW: CUSTOMIZE CLEANING WITH ADJUSTABLE WIND SPEEDS.
- 2-IN-1 DUSTING & VACUUMING: VERSATILE NOZZLES FOR DEEP CLEANING ANYWHERE.
- ECO-FRIENDLY & RECHARGEABLE: SAVE MONEY AND THE ENVIRONMENT WITH USB-C CHARGING.
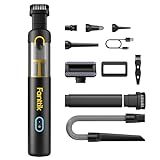
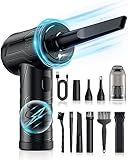
Fanttik Slim V8 APEX Car Vacuum, 4-in-1 Portable Mini Cordless Vacuum with 19000pa Suction Power, Type-C Charge, 2 Suction Modes, Handheld Vacuum for Small Jobs, Car, Office Desk, Keyboards (Black)
-
COMPACT POWER FOR SMALL JOBS: IDEAL FOR CAR AND OFFICE CLEANING!
-
4-IN-1 VERSATILITY: VACUUM, BLOW, INFLATE, AND PUMP WITH EASE!
-
EFFORTLESS CLEANING: ONE-TOUCH EMPTYING AND HEPA FILTER FOR PURITY!

Meudeen Air Duster - Computer Vacuum Cleaner - for Keyboard Cleaning- Cordless Canned Air- Powerful - Energy-Efficient(Air-01)
- 3-IN-1 FUNCTIONALITY: MINI VACUUM, AIR DUSTER, AND BLOWER IN ONE!
- VERSATILE ACCESSORIES: 6+ ATTACHMENTS FOR EVERY CLEANING NEED!
- POWERFUL & COMPACT: 120W SUCTION IN A PORTABLE, LIGHTWEIGHT DESIGN!
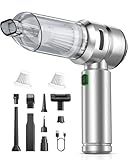
VNOST Car Vacuum,3 Suction Modes,Portable Mini Cordless Cleaner with 24000pa Suction Power,Type-C Charge,Handheld Vacuum for Home,Car, Office Desk, Keyboards(Dark Silver)
- 24000PA SUCTION POWER - EFFORTLESSLY TACKLES DUST AND DEBRIS!
- 4-IN-1 VERSATILITY - VACUUM, BLOW, INFLATE, OR EXTRACT WITH ONE TOOL!
- QUICK CHARGE CONVENIENCE - 30 MIN RUNTIME AND FAST TYPE-C CHARGING!
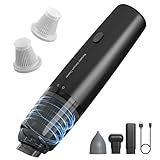
A9life Handheld Vacuum Cordless, Car Vacuum Cleaner Portable with HEPA Filter, 2 Suction Modes, Mini Hand Held Vacuum Rechargeable for Car, Home, Pet Hair, Office, Desk, Keyboards (Black)
-
ULTRA-LIGHTWEIGHT DESIGN: WEIGHS JUST 0.72 LBS FOR EASY, ONE-HANDED USE.
-
POWERFUL SUCTION MODES: ECO AND MAX SETTINGS TACKLE ANY MESS QUICKLY.
-
VERSATILE CLEANING TOOLS: 3 ATTACHMENTS FOR EVERY SURFACE AND TOUGH SPOTS.
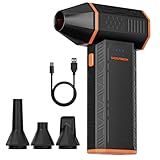
WOLFBOX MF50 Compressed Air Duster-110000RPM Super Power Electric Air Duster, 3-Gear Adjustable Mini Blower with Fast Charging, Dust Blower for Computer, Keyboard, House, Outdoor and Car
-
POWERFUL 110,000 RPM TURBO FAN FOR EFFICIENT DUST REMOVAL.
-
ECO-FRIENDLY AND REUSABLE: DITCH DISPOSABLE AIR CANS!
-
PORTABLE AND LIGHTWEIGHT DESIGN FOR EASY CLEANING ANYWHERE.
KMM Handheld Car Vacuum Cleaner, 9000Pa Vacuum Cleaner and Air Duster, 120W High Power Hand Held Vacuum with LED Light and Multi-Nozzles for Car, Home, Office, Pet
- FAST RECHARGE: FULL CHARGE IN 3 HOURS; SAVE TIME, GO GREEN!
- 2-IN-1 FUNCTION: POWERFUL SUCTION AND BLOWING FOR VERSATILE CLEANING.
- EFFORTLESS MAINTENANCE: ONE-CLICK DUMP AND WASHABLE HEPA FILTER.
PeroBuno Computer Vacuum Cleaner - Air Duster - for Keyboard Cleaning - Cordless Canned Air - Powerful - Energy - Efficient - Compressed
- CORDLESS, RECHARGEABLE DESIGN FOR EFFICIENT, PORTABLE CLEANING.
- 3-IN-1 FUNCTIONALITY: BLOW, VACUUM, AND SEAL FOOD WITH EASE.
- SAVE MONEY WITH REUSABLE DUSTER; NO MORE DISPOSABLE CANS!
Using a keyboard vacuum to clean your keyboard is a practical choice for several reasons. First and foremost, a keyboard vacuum is specifically designed to remove the dust, crumbs, and debris that can accumulate in the crevices between keys. This helps to maintain the keyboard's functionality and prolong its lifespan by preventing dirt from interfering with key mechanisms. Additionally, regular cleaning with a keyboard vacuum can improve your typing experience by ensuring keys remain responsive and not sticky or jammed. Moreover, a cleaner keyboard contributes to a healthier workspace by reducing potential allergens and bacteria growth. Using a vacuum is also more effective and less risky than using alternative cleaning methods such as compressed air, which could blow dust further inside the keyboard, or using liquids that might damage electronic components. Overall, a keyboard vacuum provides a quick, efficient, and safe way to keep your keyboard clean and in good working order.
How to ensure the vacuum does not damage keycaps on my keyboard?
To ensure that a vacuum does not damage the keycaps on your keyboard, you should take the following precautions:
- Use a Keyboard-Specific Attachment: Some vacuums come with specialized attachments designed for cleaning electronics. These attachments typically have softer bristles or narrow nozzles that help prevent damage.
- Adjust Suction Power: If your vacuum allows it, reduce the suction power to a lower setting. High suction can pull off keycaps or damage delicate components.
- Secure Keycaps: Before vacuuming, check to ensure that all keycaps are securely attached. If you suspect any loose keycaps, you might want to remove them before cleaning and then reattach them afterwards.
- Use a Soft Brush: Incorporate a soft brush, like a small paintbrush, to gently dislodge dust and debris from between the keys. This can help reduce reliance on the vacuum's suction power.
- Cover Vent Openings: If your vacuum has wide openings or slots that could potentially catch and pull off keycaps, consider covering them with a fine mesh or fabric to diffuse the suction force.
- Consider Compressed Air: Instead of using a vacuum, consider using compressed air to blow dust away from the keyboard. Be sure to hold the can upright to avoid moisture discharge.
- Manual Cleaning: Sometimes, the safest approach is to manually remove keycaps (if your keyboard allows for it) and clean them separately. This provides thorough cleaning and eliminates risk of damage.
- Regular Maintenance: Regularly clean your keyboard to prevent significant buildup of debris, which reduces the need for intensive vacuuming sessions.
Implement these measures to help protect your keyboard from any accidental damage while cleaning.
What is the noise level of a typical keyboard vacuum cleaner?
The noise level of a typical keyboard vacuum cleaner can vary depending on the model and brand. Generally, most small handheld vacuum cleaners, which would include keyboard vacuums, produce noise levels between 60 to 85 decibels. To give you some perspective, 60 decibels is roughly equivalent to normal conversation, while 85 decibels is similar to the sound of heavy traffic. If noise level is a concern, it's a good idea to check the specifications provided by the manufacturer for a particular model you are considering.
How to charge a cordless keyboard vacuum?
Charging a cordless keyboard vacuum is generally a straightforward process, but the exact steps can vary depending on the brand and model you have. Here are the general steps you should follow:
- Read the Manual: Before doing anything, it's always a good idea to refer to the user manual that came with your vacuum. This will provide specific instructions and safety information relevant to your model.
- Locate the Charging Port: Find where the charging port is located on your cordless vacuum. This is typically a small, round or rectangular port on the handle or base of the device.
- Connect the Charger: Use the charger that came with your vacuum. Insert the plug into the charging port. Make sure the connection is secure.
- Plug Into a Power Source: Connect the other end of the charger to a suitable power outlet. Ensure the outlet is switched on if it has a switch.
- Check Indicators: Most cordless vacuums have an indicator light that shows the charging status. It might turn red or start blinking when charging and become solid or green when fully charged.
- Allow Sufficient Charging Time: It usually takes a few hours to fully charge a cordless vacuum. The specific time will depend on the model, so refer to the manual for guidance.
- Unplug After Charging: Once fully charged, unplug the charger from both the power source and the vacuum to prevent overcharging, which could reduce battery life over time.
- Storage: When not in use, store your vacuum according to the manufacturer's instructions to maintain battery health.
By following these steps, you should be able to efficiently charge your cordless keyboard vacuum. If you encounter any issues, consult the troubleshooting section of the manual or contact the manufacturer's customer support for assistance.