Best Storage Solutions to Buy in July 2026
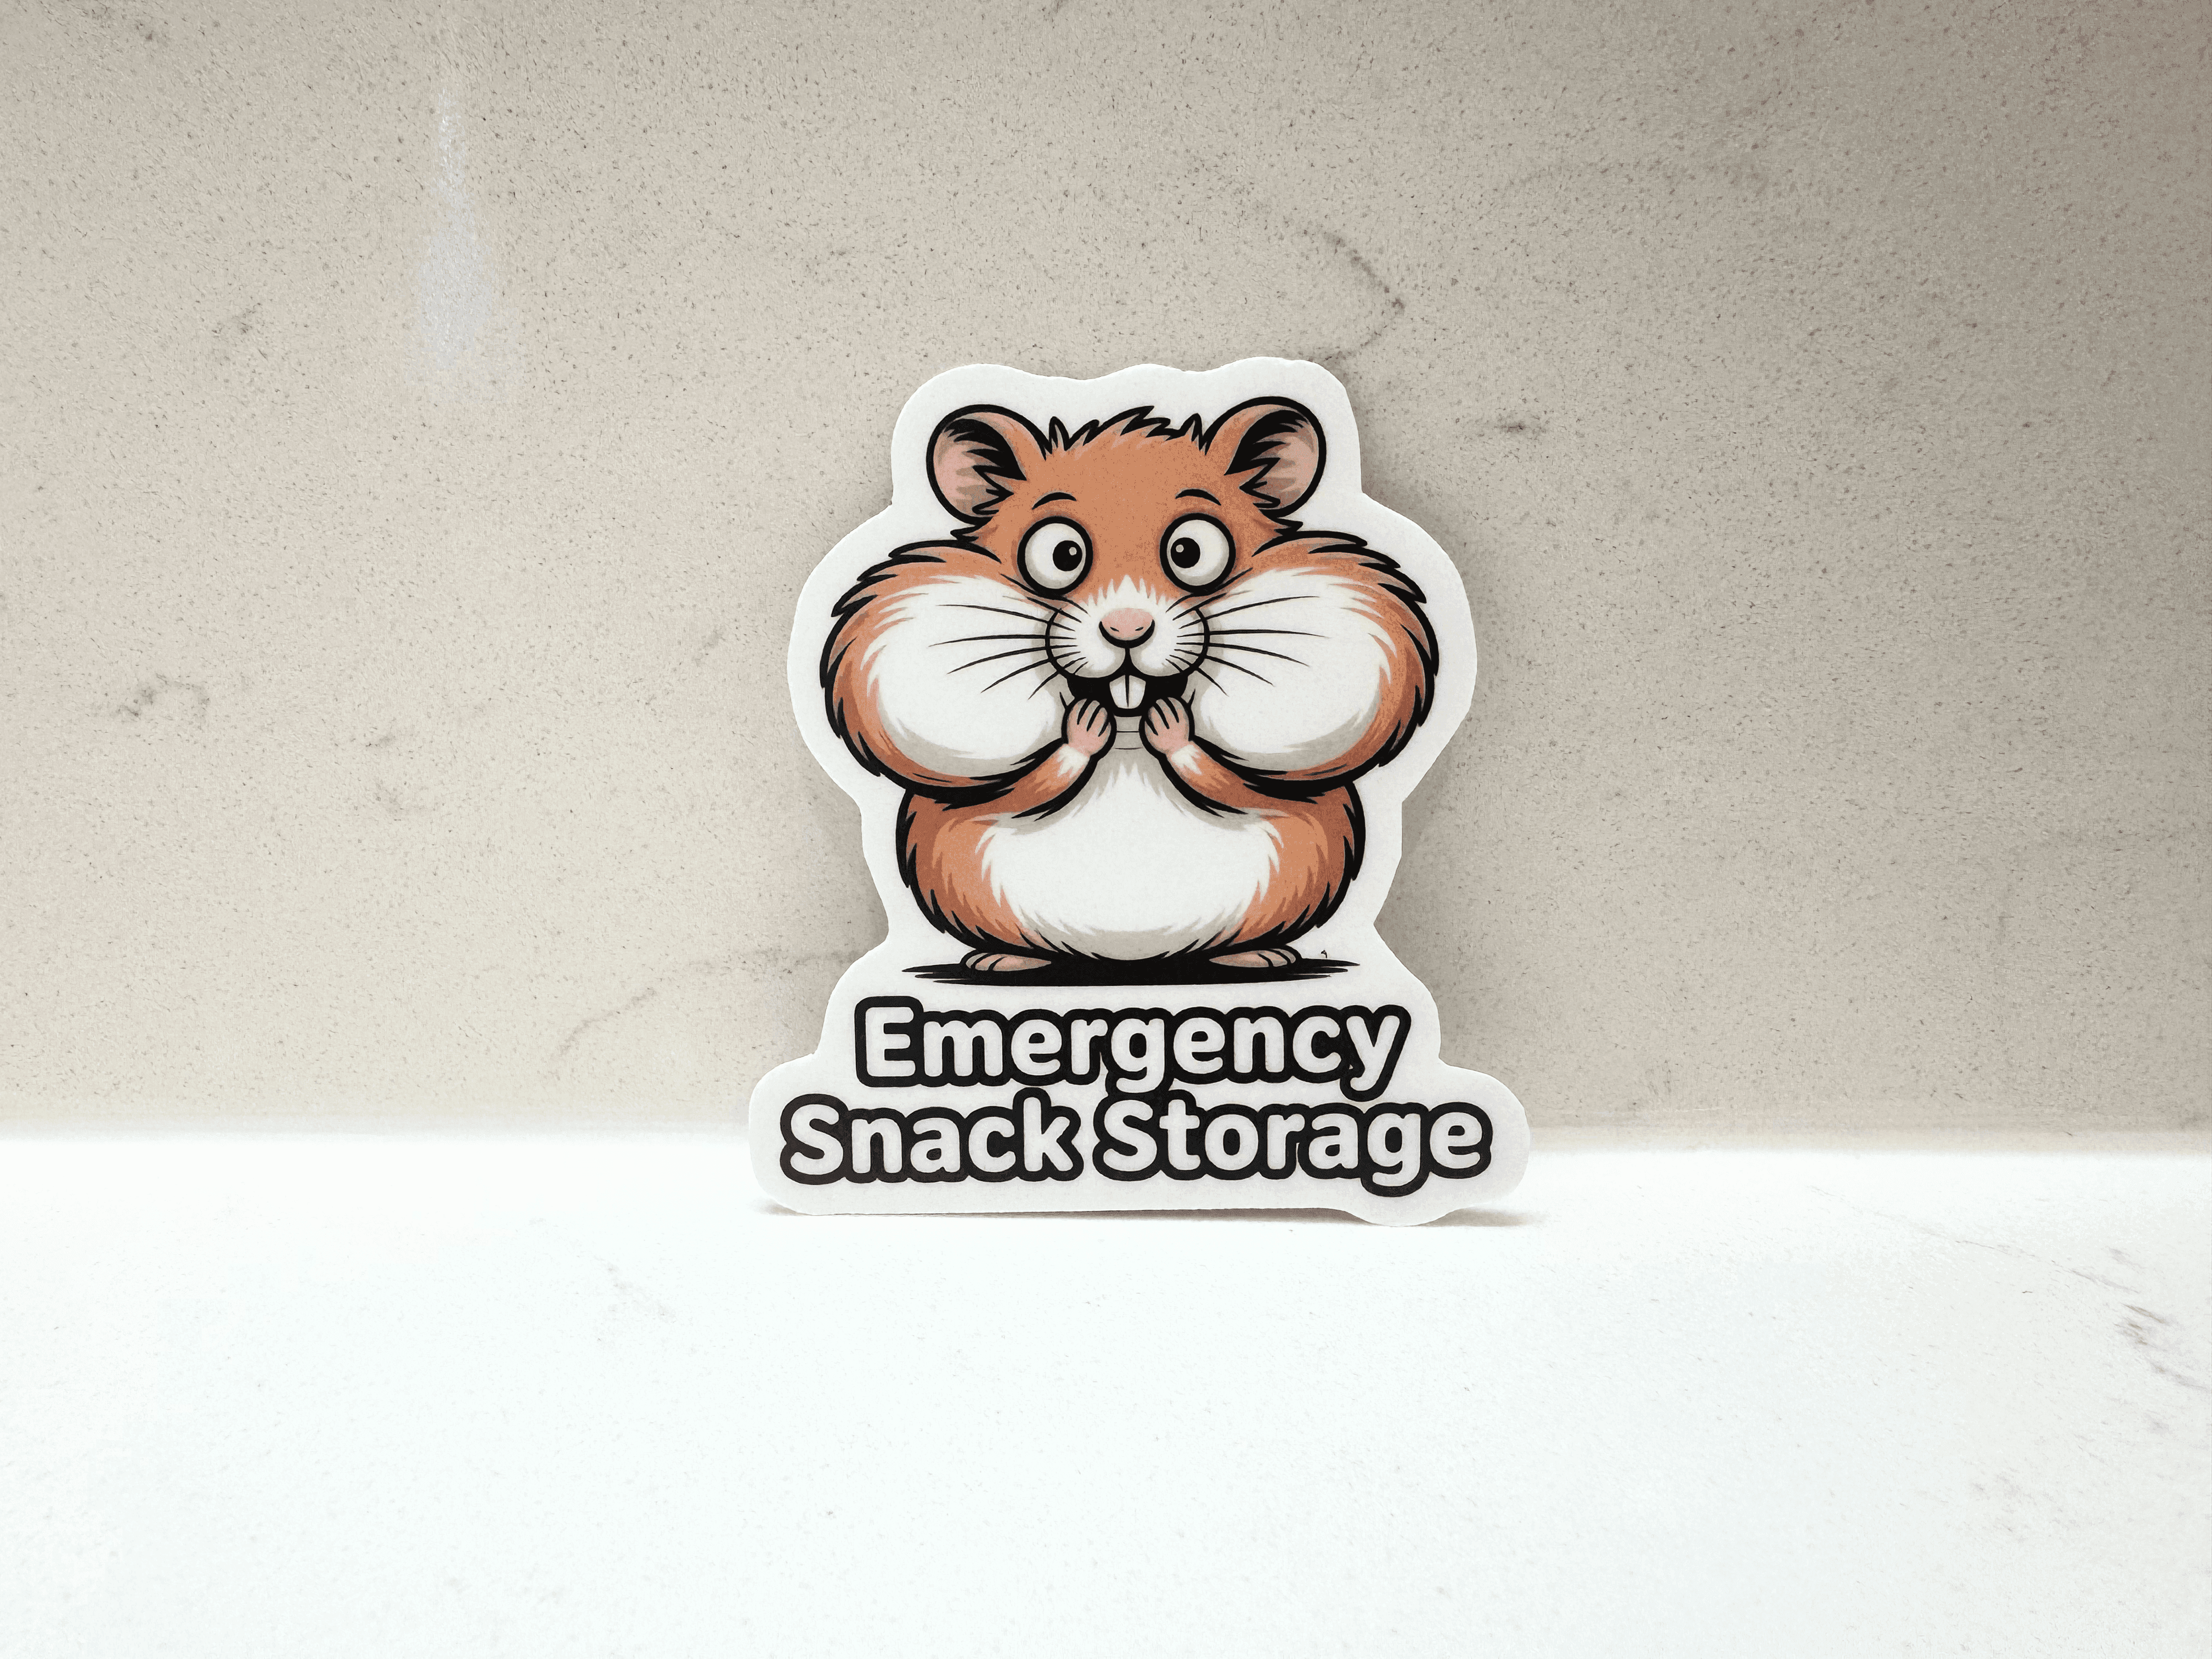
Cute Hamster Emergency Snack Storage Sticker
- CUTE CARTOON HAMSTER DESIGN ADDS HUMOR TO EVERYDAY ITEMS.
- WATERPROOF, DURABLE VINYL ENSURES LONG-LASTING ENJOYMENT.
- PERFECT GIFT FOR ANIMAL LOVERS AND FANS OF PLAYFUL DECOR!
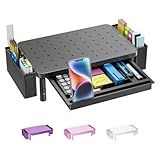
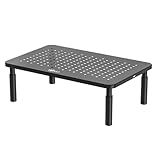
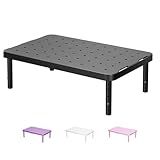
WALI Computer Monitor Stand with Storage, Desk Organizer with Drawer and Pen Holder, Desk Monitor Riser 3 Height Adjustable, Laptop Riser for Computer, Laptop, Printer(PTT003-B), 1 Pack, Black
-
ERGONOMIC DESIGN: ELEVATE DEVICES TO REDUCE NECK AND BACK STRAIN.
-
SPACE SAVER: BUILT-IN DRAWER AND PEN HOLDERS FOR A TIDY WORKSPACE.
-
STRONG SUPPORT: HOLDS UP TO 44 LBS, COMPATIBLE WITH MOST DEVICES.


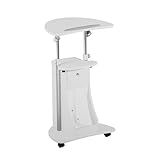
Adjustable Height Rolling Laptop Cart with Storage, Sit to Stand Desk with Wheels, Podium Stand or Medical Cart, White
-
CUSTOMIZABLE HEIGHT FOR MAXIMUM COMFORT ADJUSTS FROM 31.5 TO 45.5 TO FIT EVERY USER'S NEEDS.
-
SAFETY FEATURES FOR SECURE USE INCLUDES EDGE-STOPPER TO PREVENT ITEMS FROM FALLING.
-
VERSATILE STORAGE OPTIONS TO STAY ORGANIZED OPEN SHELF AND CLOSED CABINET ENSURE EASY ACCESS AND NEATNESS.
WALI Computer Monitor Stand for Desk, Adjustable Laptop Riser, Desk Monitor Stand Underneath Storage for Office, Home, School Supplies (STT003), 1 Pack, Black
- VERSATILE DESIGN: SUPPORTS MOST SCREENS UP TO 44 LBS; ANTI-SLIP PADS.
- ERGONOMIC ADJUSTMENTS: ELEVATE DEVICES BY 3.9, 4.7, OR 5.5 FOR COMFORT.
- COOL & ORGANIZED: VENTED PLATFORM PREVENTS OVERHEATING; SLEEK STORAGE SPACE.
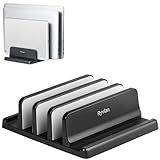
Vaydeer Vertical Laptop Stand for Desk,Dual Slots Plastic Laptop Holder with Space Saving 4-in-1 Design,Adjustable Laptop Organizer Storage Supports for MacBook,Mac,HP,Dell,Microsoft Surface,Lenovo
- MAXIMIZE PRODUCTIVITY WITH DUAL SLOTS FOR 2 LAPTOPS VERTICALLY!
- ADJUSTABLE WIDTH FITS VARIOUS DEVICES, ENSURING A SECURE HOLD.
- STYLISH, DURABLE DESIGN KEEPS YOUR WORKSPACE ORGANIZED AND NEAT!
WALI Computer Monitor Stand for Desk, Adjustable Laptop Riser, Desk Monitor Stand Underneath Storage for Office, School Supplies (PTT001-B), 1 Pack, Black
- VERSATILE SUPPORT: FITS MOST DEVICES, HOLDS UP TO 44 LBS.
- ERGONOMIC BOOST: ADJUST HEIGHT FOR ULTIMATE COMFORT WHILE WORKING.
- VENTILATED DESIGN: KEEPS DEVICES COOL AND PREVENTS OVERHEATING.
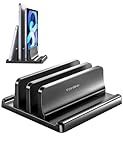
Ryvlan Vertical Laptop Stand, 3 Slot Adjustable Laptop Storage Rack and Desk Organizer, Silicone-Padded Holder for Multiple Devices Storage, Compatible Stand for Tablets and Devices up to 17 Inches
-
EFFICIENT 3-SLOT DESIGN: ORGANIZE 3 LAPTOPS AND 2 DEVICES IN STYLE.
-
CUSTOMIZABLE FIT: ADJUSTABLE WIDTH FOR VARIOUS LAPTOP THICKNESSES.
-
SLEEK AND STABLE: ELEGANT DESIGN WITH ANTI-SCRATCH PROTECTION FOR DEVICES.
Managing storage space on a Windows laptop is essential for optimizing performance and ensuring you have enough room for your files and applications. Here are a few ways to effectively manage storage space:
- Delete unnecessary files: Start by reviewing and deleting any files, folders, or applications that you no longer need. These can include old documents, unused software installations, or temporary files. Be cautious while deleting, ensuring you don't remove any important files.
- Uninstall unused programs: Go through your list of installed programs and uninstall those that you no longer use. This will not only free up storage space but also declutter your system.
- Optimize storage settings: Windows provides several built-in tools that help optimize storage. For example, you can enable Storage Sense, which automatically deletes temporary files and empties the Recycle Bin when space is running low. You can also adjust the Storage settings to save files to an external drive or cloud storage instead of the local disk.
- Utilize cloud storage: Consider moving some of your files, such as photos, videos, or documents, to cloud storage solutions like Microsoft OneDrive, Google Drive, or Dropbox. This allows you to access your files from any device while freeing up space on your laptop.
- Store files on an external drive: If you have large files or media libraries, such as movies or music, you can store them on an external hard drive or USB flash drive. This way, they won't take up valuable space on your laptop's internal storage.
- Compress files and folders: If you have files that you don't access frequently but still need to keep on your laptop, consider compressing them into a single folder or using file compression tools. This reduces their size, saving storage space.
- Run disk cleanup: Windows has a built-in Disk Cleanup tool that identifies and removes unnecessary files, such as temporary Internet files, system-generated error logs, and Windows update files. You can access this tool by searching for "Disk Cleanup" in the Windows search bar.
- Manage your downloads: Regularly clean up your Downloads folder, deleting any files that you no longer need. It's easy for this folder to accumulate large files that you've forgotten about, taking up valuable space on your laptop.
Remember, it's important to regularly maintain your laptop's storage space to prevent storage-related issues and keep your device running smoothly. By following these tips, you can effectively manage and optimize storage space on your Windows laptop.
How to manage files stored in the Recycle Bin?
To manage files stored in the Recycle Bin, you can follow these steps:
- Open the Recycle Bin by double-clicking on its icon located on your desktop.
- Once the Recycle Bin window opens, you will see a list of all the files and folders that have been deleted from your computer.
- To restore a file or folder, simply select it by clicking on it once. Then, right-click on the selected item and choose the "Restore" option. Alternatively, you can drag and drop the item to a desired location on your computer to restore it.
- If you want to permanently delete a file or folder, select it and press the "Delete" key on your keyboard, or right-click on the selected item and choose "Delete." This will remove the file or folder from the Recycle Bin and it cannot be restored.
- You can also empty the entire Recycle Bin at once to permanently delete all its contents. Right-click on the Recycle Bin icon and select "Empty Recycle Bin." A confirmation prompt will appear, asking you to confirm the action. Click "Yes" to proceed with the deletion.
- If you accidentally delete a file or folder and cannot find it in the Recycle Bin, it may have been deleted permanently by using the "Shift+Delete" key combination. In this case, you might need to use data recovery software to attempt to recover the lost files.
Remember to regularly manage the contents of your Recycle Bin to prevent it from taking up unnecessary storage space on your computer's hard drive.
How to transfer files to an external SSD for faster access?
To transfer files to an external SSD for faster access, follow these steps:
- Connect the external SSD to your computer. You can use a USB cable or any other appropriate connector that suits your SSD.
- Ensure that the external SSD is recognized by your computer. It should appear as a new drive in your file explorer (e.g., Windows Explorer or Finder).
- Open your file explorer and locate the files you want to transfer. You can either select individual files or entire folders.
- Once you've selected the files to transfer, right-click on them and choose "Copy" (or use the keyboard shortcut Ctrl+C on Windows or Command+C on Mac).
- Go back to the file explorer and navigate to the external SSD drive where you want to transfer the files. Open the drive folder.
- Right-click inside the external SSD drive folder and choose "Paste" (or use the keyboard shortcut Ctrl+V on Windows or Command+V on Mac). This will start the file transfer process.
- Wait for the files to complete transferring. The duration will vary depending on the size and number of files being transferred as well as the speed of your SSD and the USB connection.
- Once the transfer is finished, you can safely disconnect the external SSD from your computer. Eject the drive by right-clicking on it in your file explorer and selecting "Eject" or "Safely Remove".
After transferring files to the external SSD, accessing them should be faster compared to a traditional hard drive. SSDs offer quicker read/write speeds, which enhance file retrieval and transfer speeds.
How to use external storage drives for overflow storage?
Using an external storage drive for overflow storage is a great way to increase the available storage space on your computer or other devices. Here's how you can utilize an external storage drive for this purpose:
- Connect the external storage drive to your computer: Use the appropriate cable (USB, Thunderbolt, etc.) to connect the external storage drive to your computer's available port. Ensure that the drive is properly connected and recognized by your computer.
- Format the external storage drive: If the drive is new or has not been formatted for your operating system, you may need to format it before use. Formatting erases all existing data on the drive, so ensure you have a backup if required. To format the drive, go to your computer's Disk Management tool (Windows) or Disk Utility (Mac) and follow the instructions to format the drive.
- Transfer files to the external storage drive: Once the drive is connected and recognized, you can start transferring files to it. You can do this by manually dragging and dropping files or folders from your computer's storage to the external drive. Alternatively, you can use file management software or backup utilities to automate the process.
- Set default storage location for new files: You can change the default storage location for new files, such as documents, downloads, or media files, to the external storage drive. This ensures that these files are directly saved on the external drive rather than on your computer's internal storage. To do this, go to your computer's settings or preferences, find the storage settings, and set the external drive as the default location for saving files.
- Organize your files: To efficiently use the external storage drive, create folders and organize your files in a way that is easy to navigate. This will make it easier to find specific files when needed.
- Regularly back up your external storage drive: It is important to have backups of your external storage drive to protect your data in case of drive failure or other unforeseen events. You can periodically create backups of your external drive by copying its contents to another secure location, such as an additional external drive or cloud storage.
Remember to safely eject or disconnect the external storage drive when it is not in use to prevent data loss or corruption.