Best Calendar Widgets to Buy in July 2026
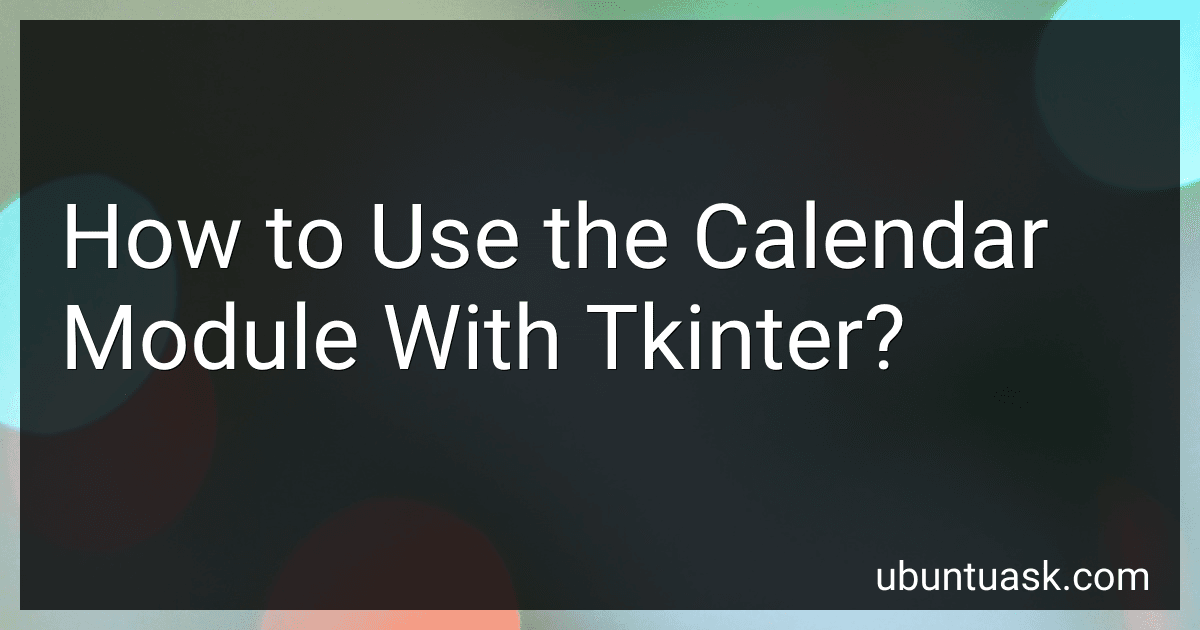
Cinrobiye Pastel Flip Calendar for Classroom 2025–2030,Bulletin Board Calendar Chart Set with 56 Date Cards Adjustable Rod for Teachers Homeschool Kids Learning Wall Decor Back to School Supplies
-
ENGAGING DESIGN: COLORFUL PASTEL THEME IGNITES CLASSROOM EXCITEMENT!
-
DURABLE & LONG-LASTING: BUILT TO ENDURE DAILY USE, IDEAL FOR YEARS AHEAD.
-
EASY INSTALLATION: QUICK SETUP WITH ADJUSTABLE ROD AND O-RINGS INCLUDED!


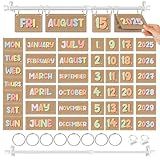
ApoloSign 15.6-inch Digital Calendar: Dual Mode Calendar with Google Play & Multi-calendar Sync, Electronic Planner & Chore Chart, Smart Touchscreen, Interactive Display for Family Schedules (Teak, 15.6")
-
SYNC ALL CALENDARS SEAMLESSLY: CONNECT GOOGLE, OUTLOOK, ICLOUD EFFORTLESSLY.
-
ENGAGE KIDS WITH CHORE REWARDS: FUN TASKS MAKE ROUTINES EXCITING AND REWARDING.
-
VOICE-ACTIVATED SMART CONTROL: MANAGE TASKS, ALARMS & HOME VIA VOICE COMMANDS.
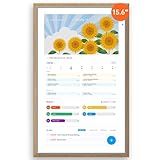
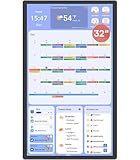
Cozyla Digital Calendar+ 2: 15.6'' Wall Planner Touch Screen Chore Chart Customize Dashboard Smart Electronic Calendar for Family Schedules Meal Planner Support App Store w/Stand Wall Mount White
-
SYNCS WITH MAJOR CALENDARS: SHARE AND MANAGE FAMILY EVENTS EASILY!
-
FUN CHORE SYSTEM: MOTIVATE KIDS WITH COLORFUL AVATARS AND REWARD POINTS!
-
CUSTOMIZABLE DASHBOARD: TAILOR YOUR DIGITAL CALENDAR TO FIT FAMILY NEEDS!
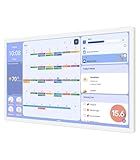
Cozyla Mate Digital Calendar+ 2: 32 Inch Wall Touch Screen Chore Chart Customize Dashboard Smart Electronic Calendar for Family Schedules Meal Planner Supports All Google Play Apps Wall Mount Black
- SYNCS WITH GOOGLE, APPLE, AND OUTLOOK FOR SEAMLESS FAMILY SCHEDULING.
- ENGAGE KIDS WITH CHORE REMINDERS AND A MOTIVATING REWARD SYSTEM.
- CUSTOMIZE YOUR DASHBOARD WITH MEAL PLANS, CHARTS, AND WEATHER UPDATES.
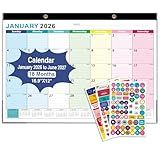
Desk Calendar2026-2027, With 3 sticker, 18 Month Calendar Running to June 2027-17" x 12" Desktop/Wall Monthly Calendar for Homeschool or Office
- STAY ORGANIZED WITH A SPACIOUS 17 X 12 CALENDAR FOR 2026-2027!
- INCLUDES FEDERAL HOLIDAY REMINDERS AND 165 STICKERS FOR EASY PLANNING.
- MINIMALIST DESIGN BLENDS SEAMLESSLY INTO ANY SPACE, ENHANCING ELEGANCE.
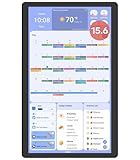
Cozyla Mate Digital Calendar+ 2: 15.6 Inch Wall Touch Screen Chore Chart Customize Dashboard Smart Electronic Calendar for Family Schedules Meal Planner Support App Store with Stand Wall Mount Black
- SYNC WITH POPULAR CALENDAR APPS FOR EASY FAMILY SCHEDULING.
- MOTIVATE KIDS WITH CHORE REMINDERS AND A BUILT-IN REWARD SYSTEM.
- CUSTOMIZE YOUR DASHBOARD FOR A PERSONALIZED FAMILY EXPERIENCE.
The calendar module in Python provides functions for working with calendars, including determining leap years, calculating the number of days in a month, and more. When used in conjunction with the tkinter library, you can create graphical calendar widgets for your GUI applications.
To use the calendar module with tkinter, you can first import both modules in your Python script. Then, you can create a tkinter window and add a calendar widget to it using the Calendar class from the calendar module. You can customize the appearance and behavior of the calendar widget by setting various options and event handlers.
For example, you can bind a function to the <<CalendarSelected>> event to handle when a date is selected in the calendar widget. This allows you to perform actions based on the selected date, such as displaying events or scheduling tasks.
Overall, combining the calendar module with tkinter allows you to create interactive calendar widgets in your GUI applications, providing users with an intuitive way to view and select dates.
How to create a toplevel window in tkinter?
To create a toplevel window in tkinter, follow these steps:
- Import the tkinter module:
import tkinter as tk
- Create an instance of the Tk class to represent the main window:
root = tk.Tk()
- Create a toplevel window using the Toplevel class:
top = tk.Toplevel(root)
- Optionally, customize the toplevel window by setting its title, size, position, etc.:
top.title("Toplevel Window") top.geometry("300x200") top.resizable(False, False)
- Add widgets (such as buttons, labels, etc.) to the toplevel window using the pack(), grid(), or place() methods:
label = tk.Label(top, text="Hello, Toplevel Window!") label.pack()
- Start the main event loop to display the windows:
root.mainloop()
By following these steps, you can create a toplevel window in tkinter and customize it according to your needs.
How to create a dropdown menu in tkinter?
To create a dropdown menu in tkinter, you can use the Menu widget along with the menubutton or menu method. Here is an example code to create a simple dropdown menu:
import tkinter as tk
def do_nothing(): pass
Create main window
root = tk.Tk()
Create a menu bar
menu_bar = tk.Menu(root) root.config(menu=menu_bar)
Create a dropdown menu
file_menu = tk.Menu(menu_bar) menu_bar.add_cascade(label="File", menu=file_menu)
Add options to the dropdown menu
file_menu.add_command(label="New", command=do_nothing) file_menu.add_command(label="Open", command=do_nothing) file_menu.add_separator() file_menu.add_command(label="Exit", command=root.quit)
Display the main window
root.mainloop()
In this example, we first create a main window using the Tk() function. Then, we create a menu bar using the Menu() function and set it as the configuration for the main window.
Next, we create a dropdown menu using the Menu() function and add it to the menu bar using the add_cascade() method. We then add options to the dropdown menu using the add_command() method, specifying the label text and the command to be executed when the option is selected.
Finally, we call the mainloop() function to display the main window with the dropdown menu.
You can customize the dropdown menu by adding more options, submenus, separators, and commands according to your requirements.
What is the syntax for importing the calendar module in Python?
The syntax for importing the calendar module in Python is as follows:
import calendar